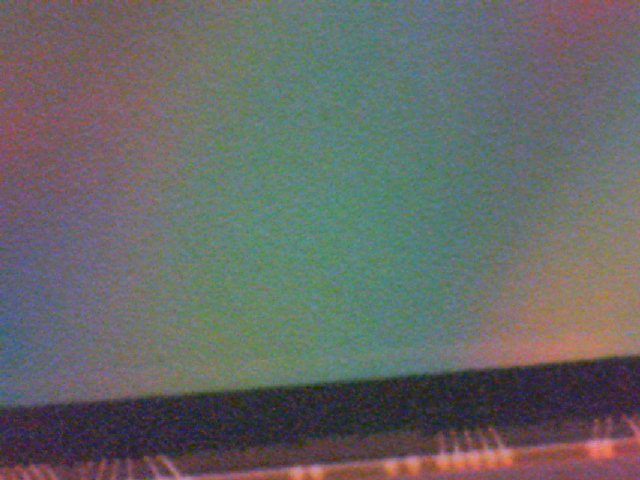
I’d hoped to demo this with real astro-images, but the weather isn’t co-operating, so instead I have images taken of part of the SharpCap logo with a deliberately dirtied Microsoft Lifecam Cinema webcam sensor.
Here’s the image with no flat frame correction applied – you can see the shadows of dust specks, particularly in the upper right corner and towards the left hand side.
Before SharpCap 3.0’s flat frame correction feature you either had to live with these shadows, deal with them in post-processing or risk cleaning your sensor – which can sometimes make things worse! Now, however you can quickly create and apply flat frames inside SharpCap to remove the dust shadows both as viewed on screen and any capture files you save.
Here’s exactly the same view of the imaging sensor in the SharpCap logo with flat frame correction applied.
As you can see, the dust shadows have been entirely removed leaving a clean image. The flat frame used to make this correction was an average of 30 individual flat frames, captured, averaged and saved automatically by SharpCap as part of its ‘Capture Flat’ feature (look in the ‘Capture’ menu).
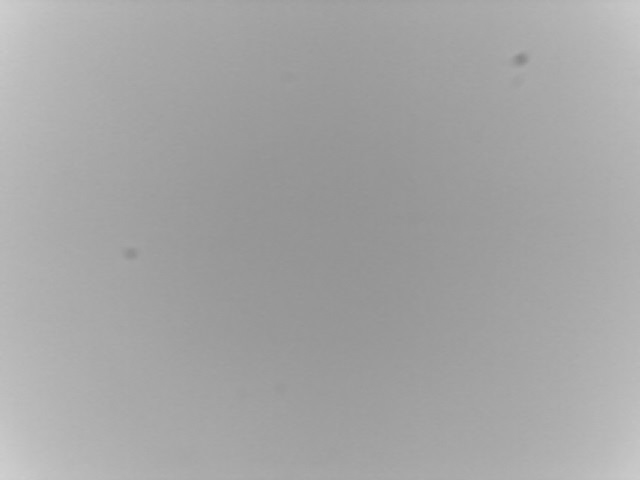
Here’s the actual flat frame used for the correction – as you can see because it has been averaged it has much less noise that the individual frames shown above
Flat frame correction in SharpCap is possible even with high speed cameras – with the LifeCam Ciname running at 1280x720x30fps, applying a flat frame only increases the CPU usage by 1% – SharpCap uses the special video processing instructions in modern CPUs to apply flat frames incredibly efficiently. With a fast CPU you can apply a flat frame to a USB3 camera running at 1920x1080x150fps!
As a final point, remember that dust shadow removal is just one of the uses of flat frame correction – you can also correct for optical vignetting and brightness artifacts caused by interference patterns such as Newton’s rings.


