
BS Astro Flip Mirror Review – Part 1
Thanks to the generosity of a number of SharpCap users, I’m now the proud owner of the BS Astro (also known as Bright Star Astro) flip mirror. It’s available from Modern Astronomy.
This part of the review covers the device itself, in part 2 I will talk about how the device works for imaging, although that will have to wait for some more clear skies to come my way.
Here’s what comes in the box :
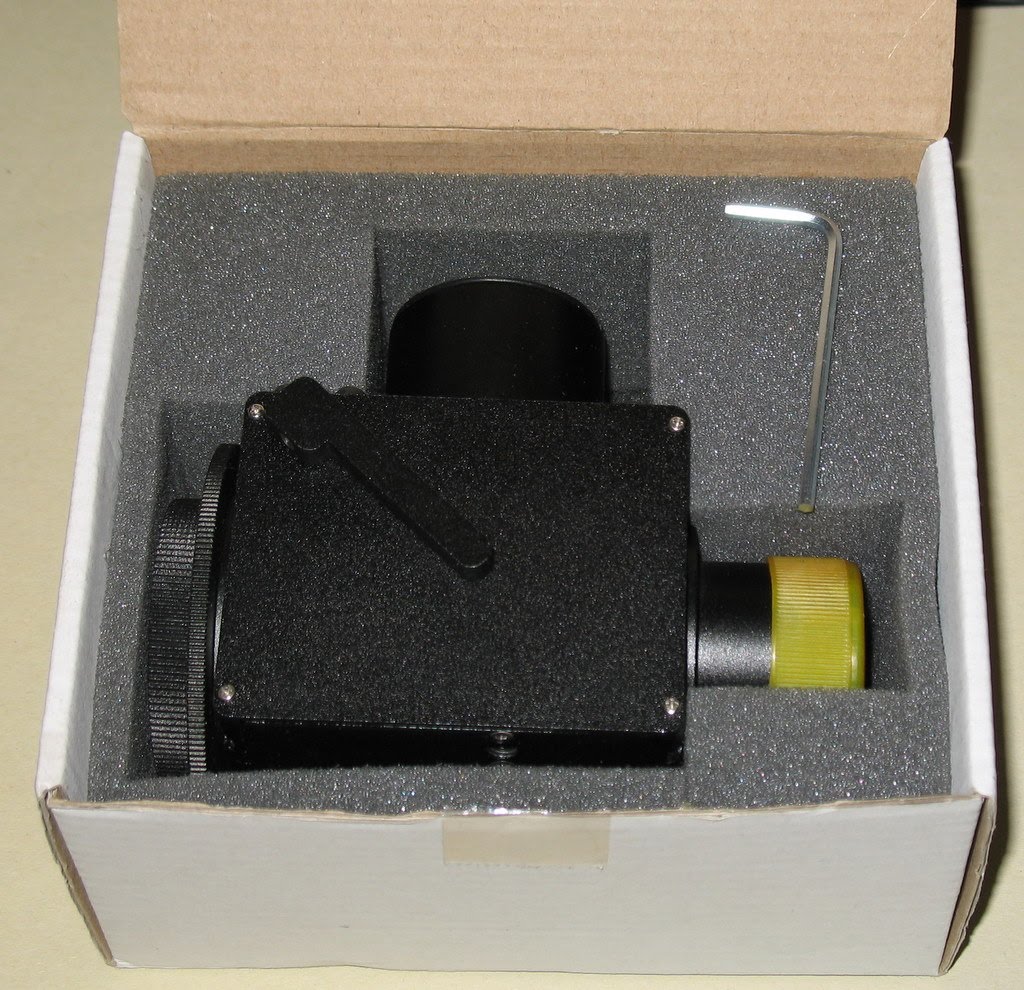
As you can see you the mirror comes in a shaped foam insert with a 1.25″ nosepiece on the front, a 1.25″ eyepiece holder on top and a T thread port to the rear. The insert is glued into the box, but could be prised out to go into an eyepiece case. You also get an alan key for making adjustments if needed, but no instructions.
It turns out that this is a near clone of the Orion (US) flip mirror (#5523), so you can download a set of instructions for it here. As far as I can see there are two differences between the two mirrors :
- The Orion mirror has a helical focuser adjustment on the top port 1.25″ eyepiece holder, the BS astro one doesn’t
- The Orion logo.
*** Update ***
Bern at Modern Astronomy has contacted me to let me know that my mirror was one of only two in his stocks missing the helical focuser and instructions – they are on their way to me now and I will update properly once they are here and I have tested them out. Likely some packing defect in early stock and nothing to worry about.
*** End Update ***
I also bought an additional T-thread to 1.25″ adaptor so that I could replace the T thread on the rear port with an eyepiece holder to use with webcams. My first mistake was thinking that I had the wrong adaptor – my adaptor had a male T thread and the connector on the back port also had a male T thread. Surely that’s wrong! A quick email to Bern at Modern Astronomy revealed that I wasn’t thinking straight – the whole rear port assembly unscrews from the body leaving a female T thread in the body to connect the eyepiece holder to – phew!
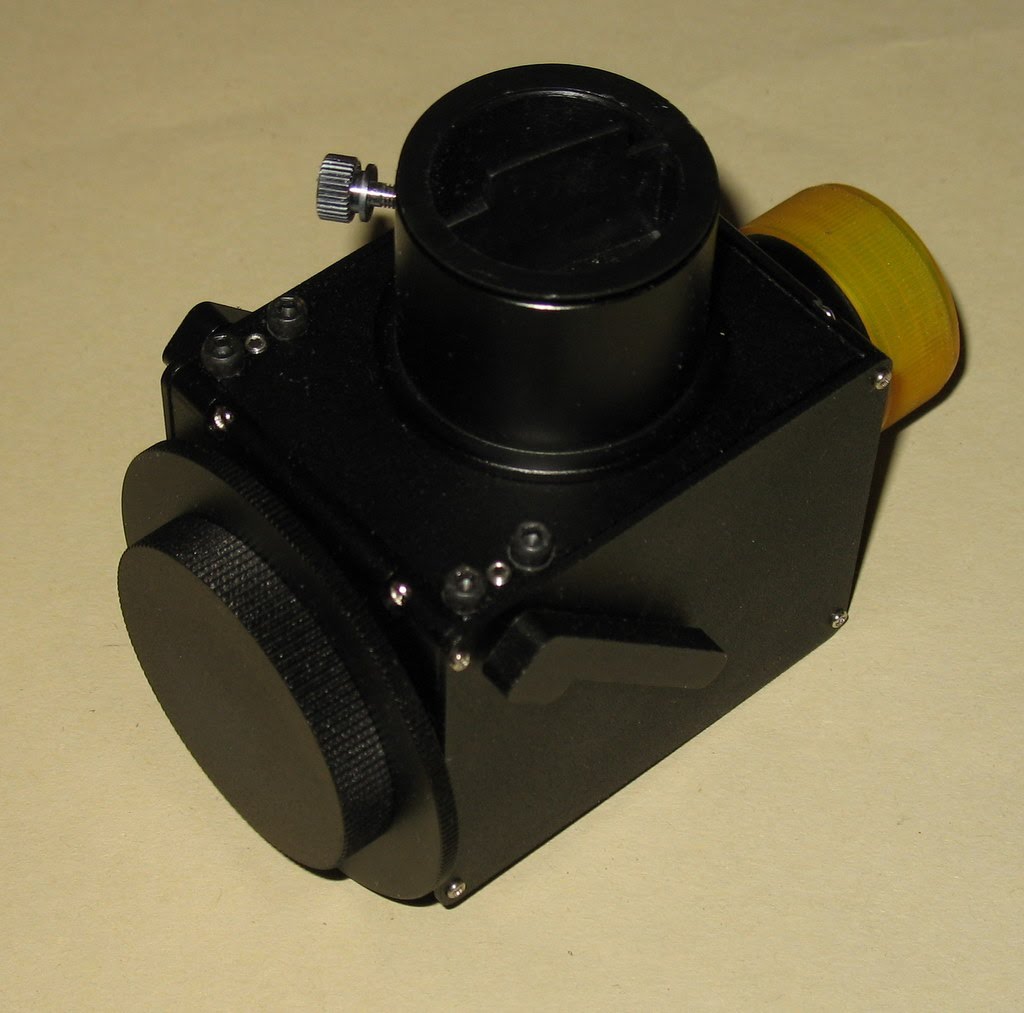
Here’s another view of it out of the box with the original accessories attached. Note that all 3 ports (front, top rear) have female T threads, so you could connect the front to your scope via a T thread instead of using the nosepiece. The rear adaptor (seen in place with dust cover on) gives a mail T thread – the adaptor is effectively a male-male T thread converter.
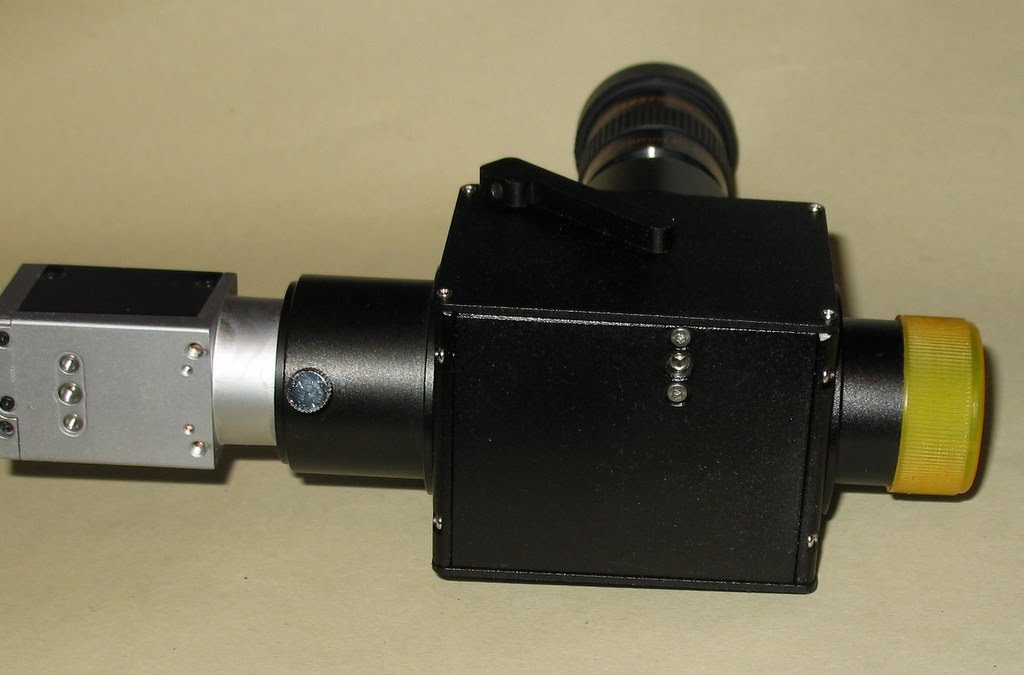
Now, with the rear T thread adaptor removed and another eyepiece holder in place, it’s ready for action :
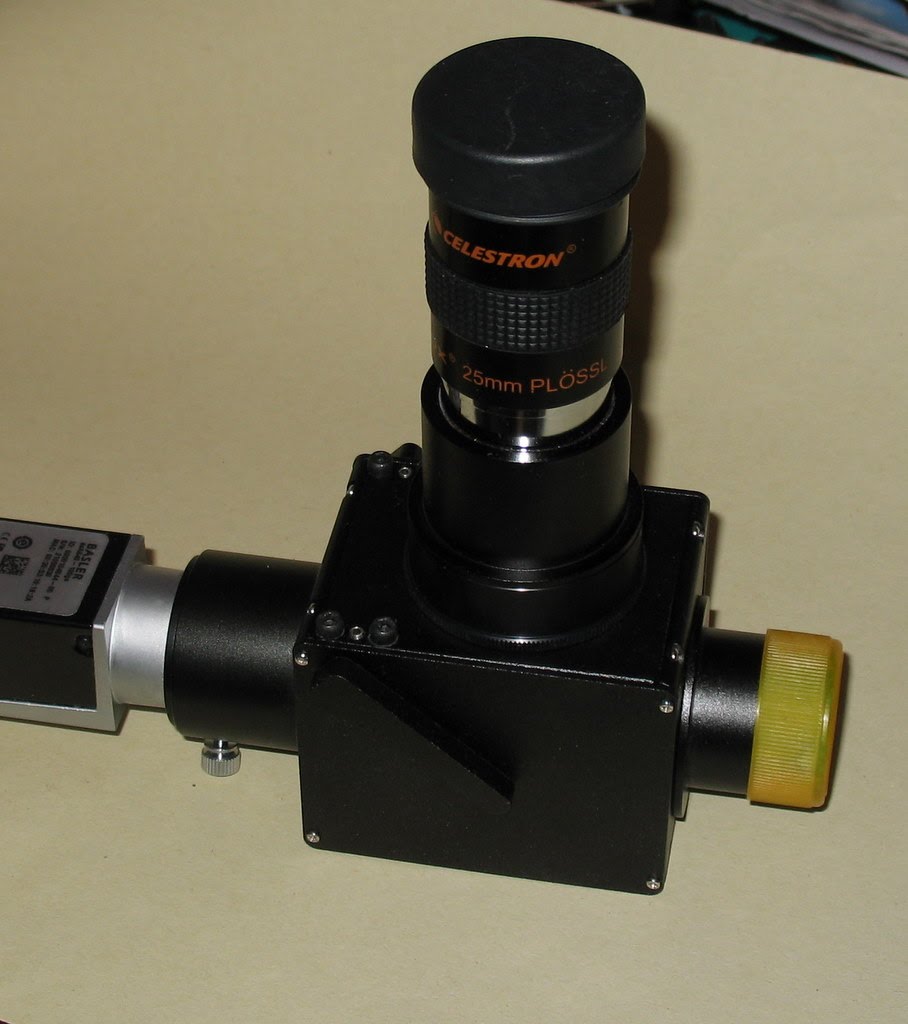
Note that I’ve also added a 10mm T thread extension into the top port to move the eyepiece further out – this is to allow me to get the camera and the eyepiece to focus at the same time. Even then I have the eyepiece sitting proud from the holder (although this probably wouldn’t be necessary with a shorter focal length eyepiece).
The weather has been unkind to me so far, so I don’t know if the lack of that helical focuser is going to be a big issue in use – if necessary I might buy one (or an adjustable length T thread extension).
Now, onto adjustments – the idea of a flip mirror is to be able to center something in the eyepiece and have it on the center of the CCD of the camera. This means that the mirror needs to be square and at 45 degrees to the light path when in the ‘down’ position.
The Orion mirror manual describes adjusting the up/down alignment using a hex bolt on the base of the mirror – you can see it in the next photograph :
It’s the center of the three hex bolts on the base with the larger head and recessed into the base. The other end of this bolt protrudes into the case and the mirror rests on it in the down position – thus by adjusting this bolt you can easily adjust the up/down alignment of the camera and eyepiece.
Adjusting left/right alignment took more working out – it’s not described in the Orion manual at all, but there were some references to the Orion mirror on the web that suggested it was possible. On my model if I centered a star on the camera, it was left of center by a bit in the eyepiece, so I was determined to work out how to do this.
I now think I have it worked out, although I need some clear skies to test my theory. The key is the two sets of 3 hex screws on the top of the body, just above the mirror arm pivot points.
In the Orion manual, these are referred to simply for adjusting the arm tension, but it’s more than that. Out of each set of three, the two larger, outer, screws hold up a plate inside the body that the mirror axle pivots on. The center, smaller screw pushes down on the axle. Tension is indeed applied to the axle between the 3 screws, but by loosening the two large screws on one side and tightening the small one between them, you are effectively moving that side of the mirror down slightly. This changes the left/right slant of the mirror and should allow left/right alignment between the eyepiece and camera views.
Finally, I’m going to cover what might be considered the most important part – the mirror itself. I must admit to being no real expert in how to judge a flat mirror, but it seems to have an even surface with no blemishes. Star images both in and out of focus were as I’d expect and didn’t show any unusual problems.
Continue reading part 2…